Basics To Diy Your Kitchen Backsplash
If you’re hoping to save some money on your home improvement projects, then you’ve undoubtedly been looking into some DIY elements you can take on in your project; one such area is the kitchen tile backsplash. Homeowners are attracted to the idea of installing their own tile backsplash because it appears to be pretty simple: Stick sheets of tile onto the wall. Today, we’ll go over the actual steps to DIY your kitchen wall tiles (we’ll see if you’re still brave enough to attempt the project at the end):
OUR STEPS TO DIY TILE BACKSPLASHES
To prepare your workspace, first you’ll need to remove all appliances, clear off countertops, and clean the walls you’re about to lay tile upon. In order to clean the walls, either lightly sand a painted wall down or lightly rinse and wipe clean a non-painted wall (be sure to allow this to fully dry before continuing).
DO A TRIAL RUN
We strongly recommend you do a trial run before laying tile with grout live. This gives you the opportunity to see how much tile you will actually use, where you will need to cut pieces for walls and corners (yes, you will need to cut tile), and get a feel for the work that you are about to take on. Try using a pencil to mark corners of tile before moving, effectively re-using one piece of tile to mock up the area.
PREPARE MORTAR
Here is where things start to get tricky. The mortar used for securing tile to the wall (often called thinset) is similar to preparing cake or pancake batter, using a mortar paddle to stir the mixture. Be aware: Most of these mixtures only last about 4 hours from the time you begin mixing to when all of the tile needs to be installed. It is advised to mix small batches and have all tile ready prior to this point.
LAY TILE
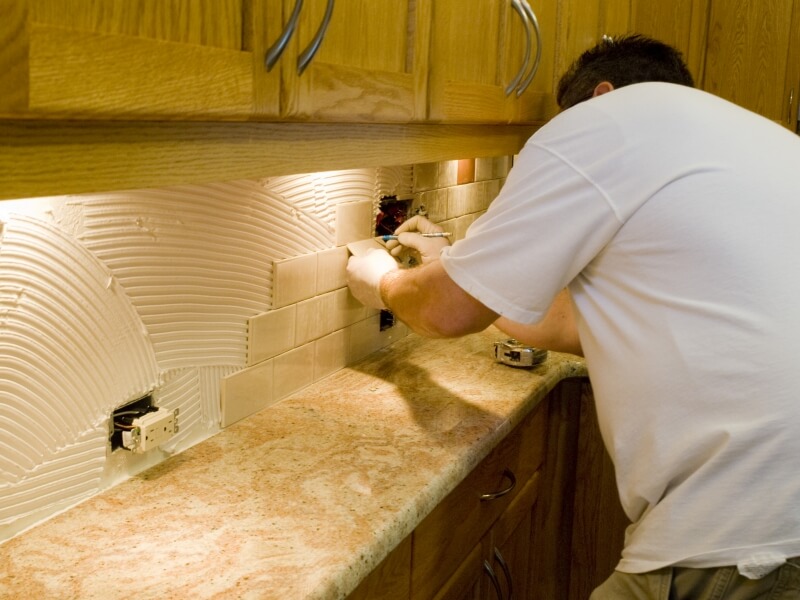
You’ll need to apply mortar to the wall anywhere that tile is going to go in an area equal to or larger than the piece of tile. Apply mortar at a 45 degree angle using the flat side of the trowl; from there you will need to use the notched edge to comb more mortar in atop this flat layer. This prepares you to be able to lay the tile in designated areas. Use tile spacers if tiles need to line up (will depend on the type of tile chosen). Tile should be rocked gently into place for best hold.
PICKING TILE IS THE EASY PART
The above steps don’t even begin to address the struggles associated with properly cutting tile, preparing and laying grout, or any number of challenges you could run into by attempting to DIY your kitchen tile backsplash. Remember, picking out a tile that will work with your kitchen through Transworld Tile’s awesome selection and friendly staff will definitely be the easy part.